How to lay slabs: A practical guide for homeowners
Laying paving slabs is a popular way to create patios, paths and garden seating areas. While it can be a DIY project, proper preparation is essential to ensure the slabs stay level, drain correctly and last for years.
Here’s what you need to know before getting started.
Step 1: Plan and measure your area
Start by measuring the space carefully and marking out the area with string lines and pegs. This helps you visualise the finished layout and calculate how many slabs you’ll need.
Always allow a small gap between slabs for jointing.
Step 2: Excavate the ground
Remove the top layer of soil to a depth of around 150–200mm, depending on the intended use. For patios that will support heavier furniture, deeper excavation may be required.
Ensure the base slopes slightly away from your property to allow for drainage.
Step 3: Add a solid sub-base
A stable sub-base is essential. This typically consists of MOT Type 1 hardcore, compacted in layers using a plate compactor. A depth of around 100mm is common for standard patios.
Skipping this step often leads to sinking or uneven slabs later.
Step 4: Apply a bedding layer
On top of the sub-base, apply a layer of sharp sand and cement mortar (often mixed at 4:1). This layer should be around 30–50mm thick and levelled carefully before placing slabs.
Each slab should sit firmly into the mortar bed.
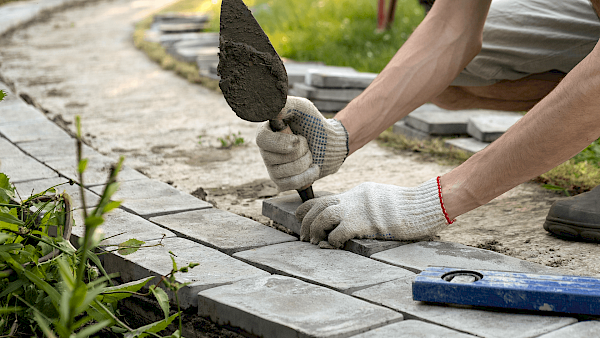
Step 5: Lay the slabs
Position each slab carefully and tap into place using a rubber mallet. Use a spirit level to ensure the surface is flat and consistent, while maintaining the slight drainage slope.
Work methodically from one corner to avoid stepping on newly laid slabs.
Step 6: Joint the slabs
Once the mortar has set, fill the joints with paving joint compound or a sand and cement mix. Proper jointing helps secure the slabs and prevents weeds from growing between them.
Common mistakes to avoid
One of the most common issues is insufficient groundwork. Poor compaction or skipping the sub-base stage can lead to movement and cracks. Incorrect drainage slope can also cause water pooling.
If the project is large, complex or near your property foundations, hiring a professional landscaper or builder may be the safer option.